SS 最佳的替代品,从 0 开始部署 v2ray 梯子(2)
前言
承接上一篇 SS 最佳的替代品,从 0 开始部署 v2ray 梯子(1)
上一篇文章有说到,以 v2ray 做基础,辅以 websocket + TLS + nginx 的加密形式,最后再加上 CDN 是目前最安全有效的梯子方式,鉴于最近 GFW 抓的比较严,大家可以试试这个。
先是购买服务器,这个就不多说,推荐下面这家供应商(狗云)。
我只能说它非常之稳,非常之快,非常之便宜。
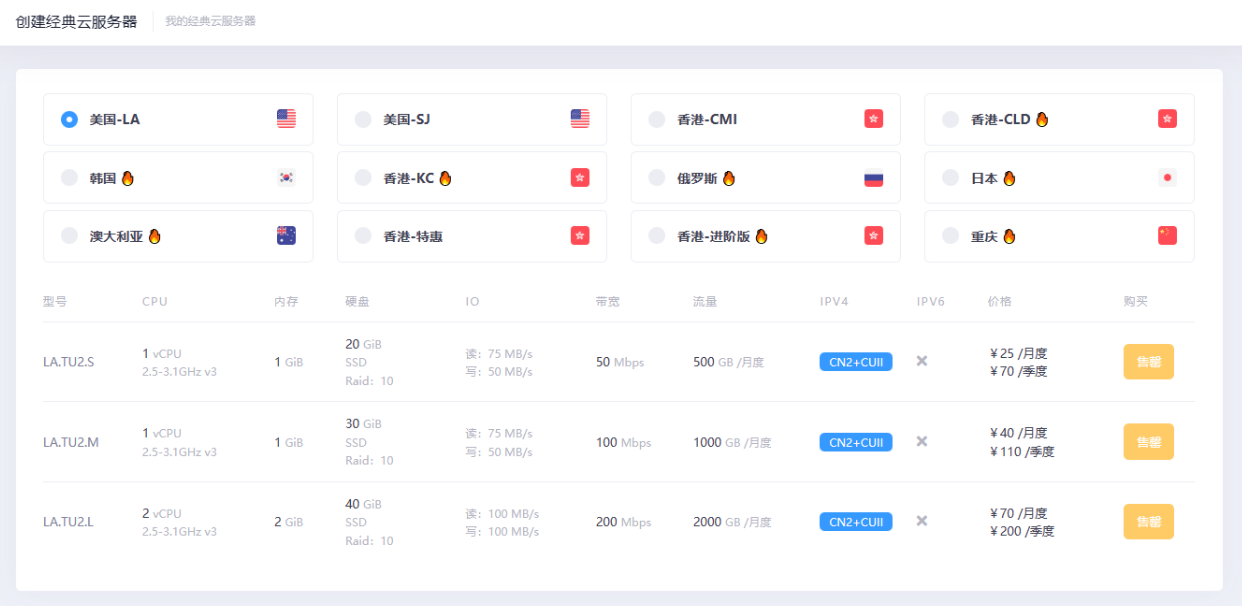
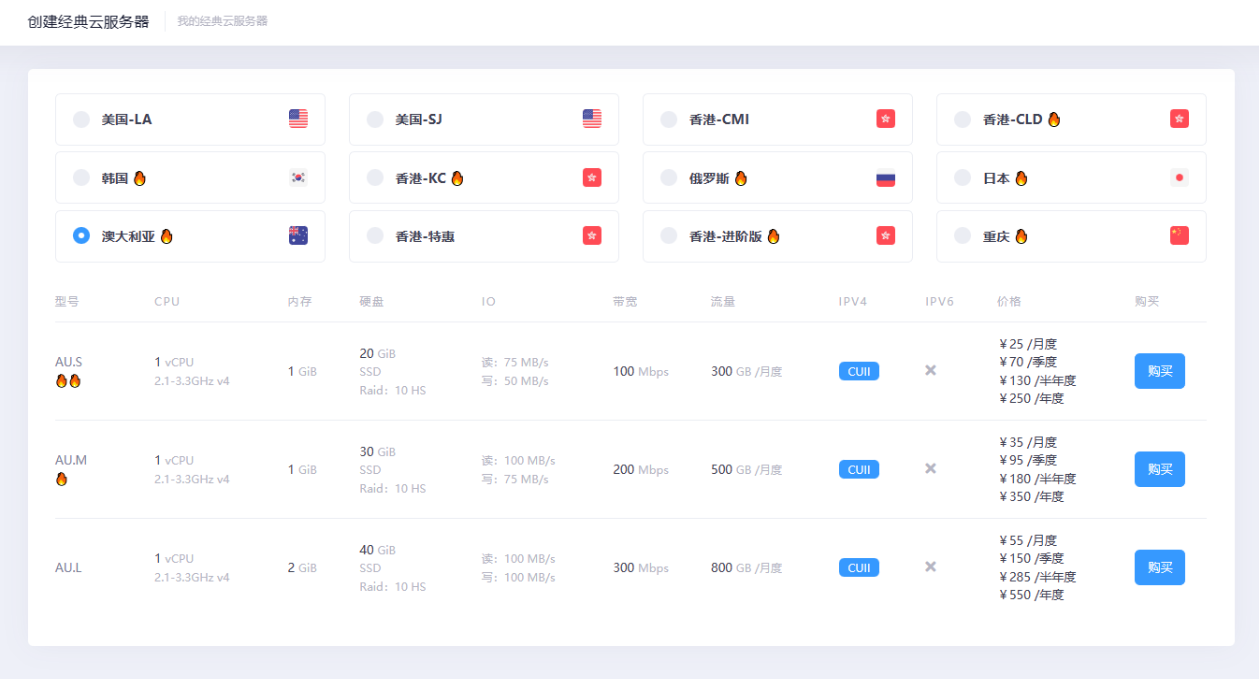
给几张截图你们看下(请按需选择,优先建议选购美国CN2节点,韩国CN2节点,千万不要买俄罗斯节点):
经典云
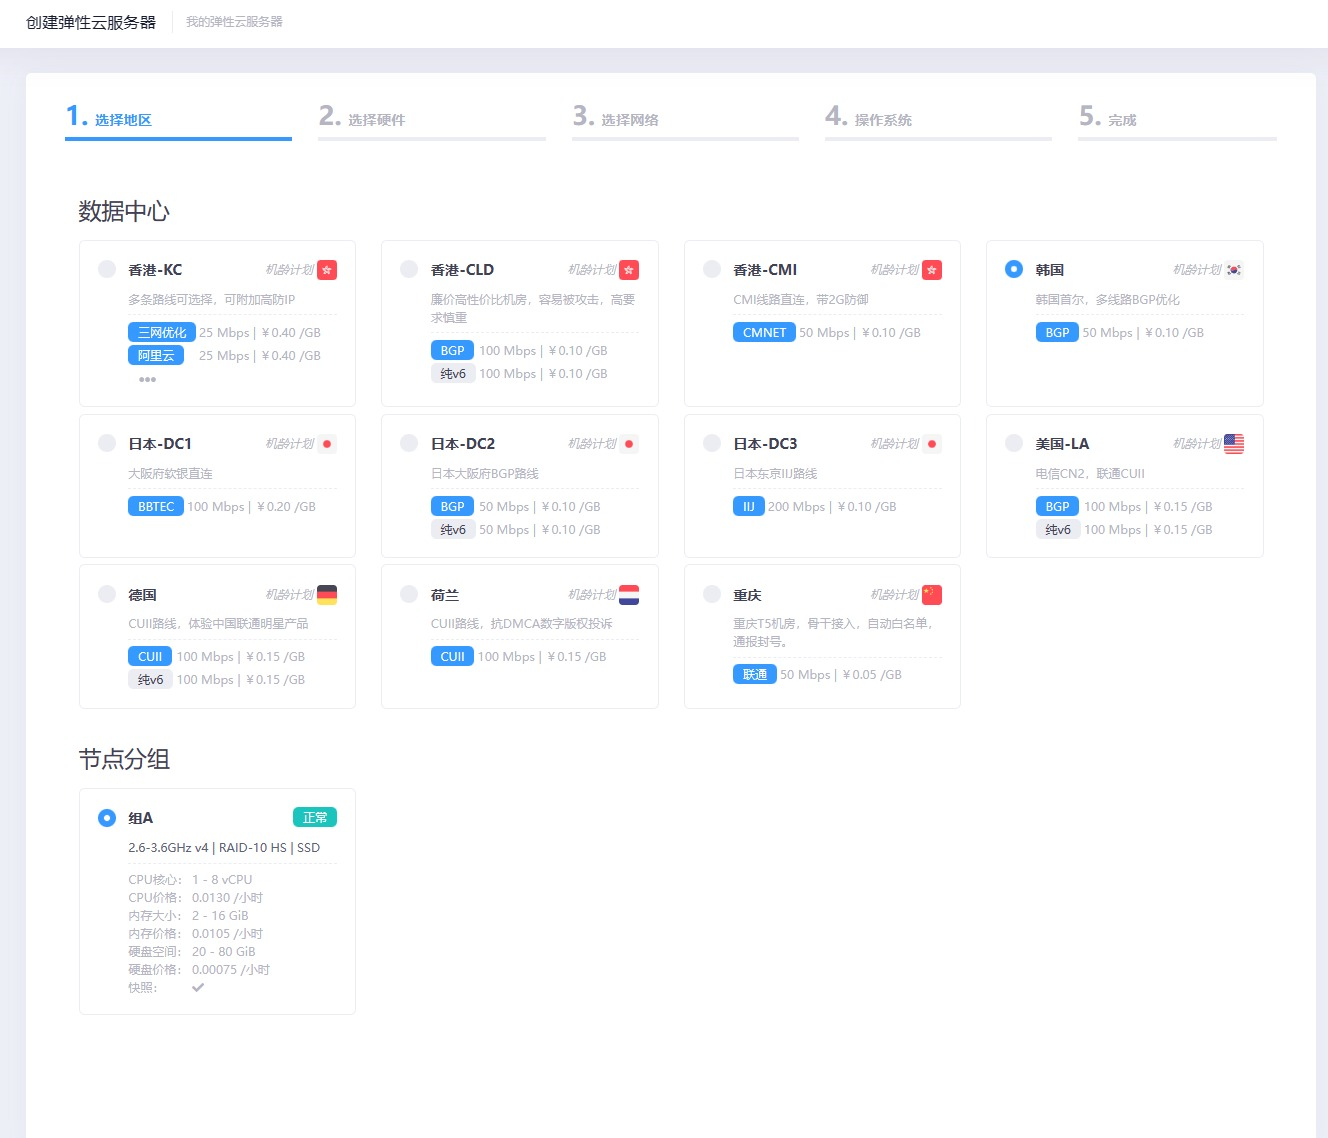
弹性云
购买地址如下:
https://www.dogyun.com/?ref=lance_2023
申请域名和申请免费 HTTPS 证书
注册域名/配置域名解析
到阿里云/腾讯云/godaddy之类的注册个域名,因为我已经有域名了,怎么注册域名,此处省略,此处推荐阿里云,可参考以下链接:
https://wanwang.aliyun.com/domain
https://jingyan.baidu.com/article/eae078275794701fec548515.html
https://blog.csdn.net/ldq7777/article/details/82823997
怎么配置域名解析?看下面这几篇
https://wanwang.aliyun.com/domain/dns?spm=5176.13359817.h2v3icoap.366.77095af5QJT22t&aly_as=zmkhc__4
https://help.aliyun.com/document_detail/102231.html?spm=5176.71615.741494.btn4.21715a71cBakun
https://help.aliyun.com/knowledge_detail/39397.html?spm=5176.13394938.0.0.43a22fc3ihtv5Y
https://help.aliyun.com/knowledge_detail/39783.html?spm=5176.13394938.0.0.43a22fc3ihtv5Y
https://jingyan.baidu.com/article/48b558e3f25e6d7f38c09aec.html
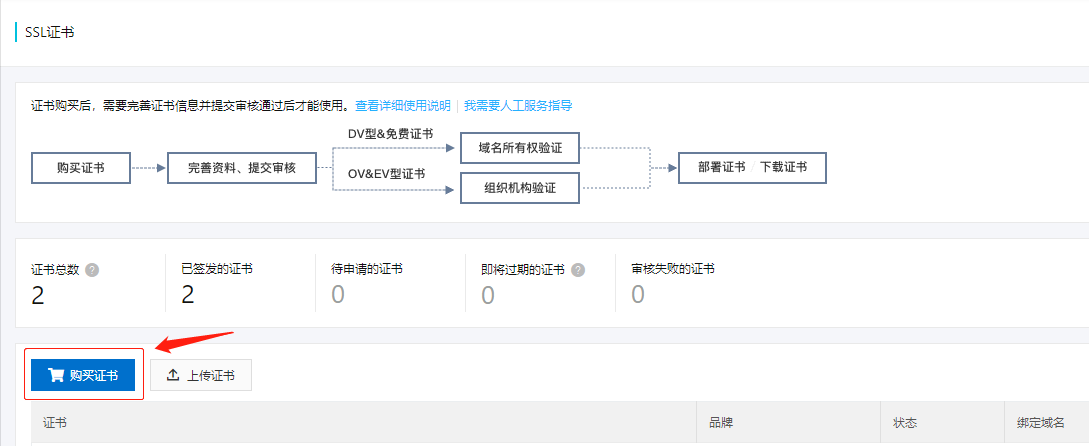
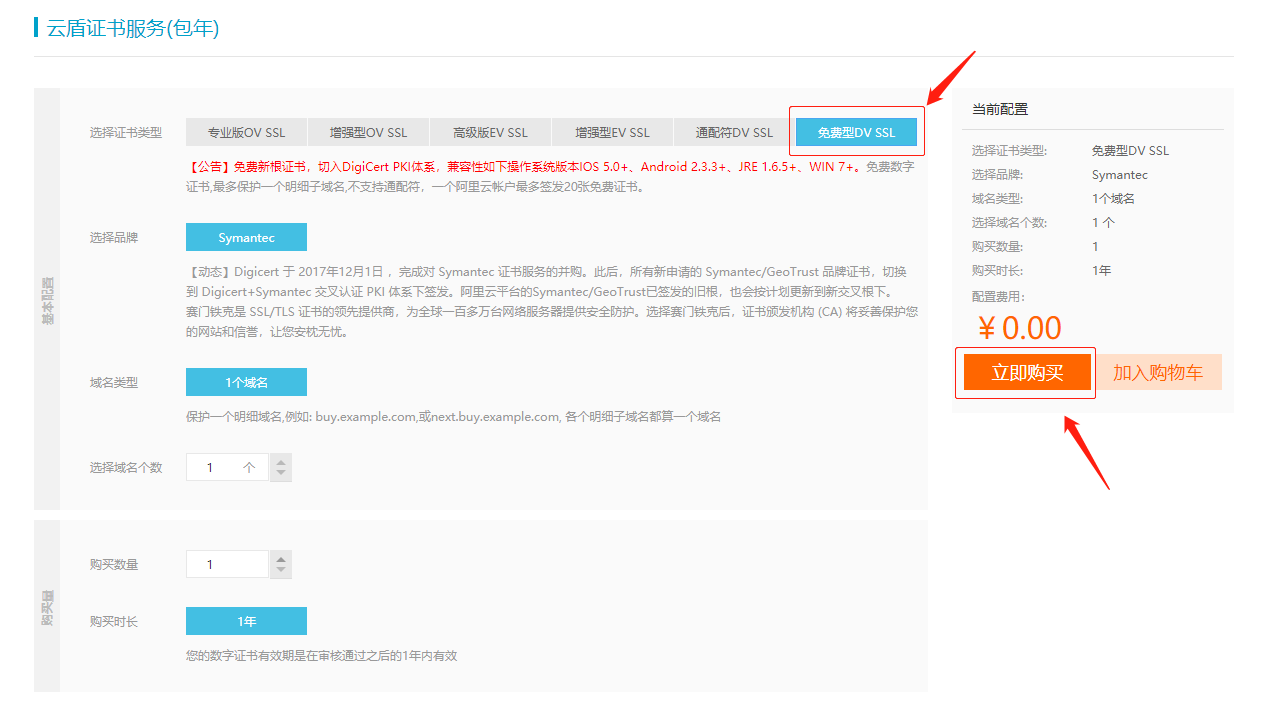
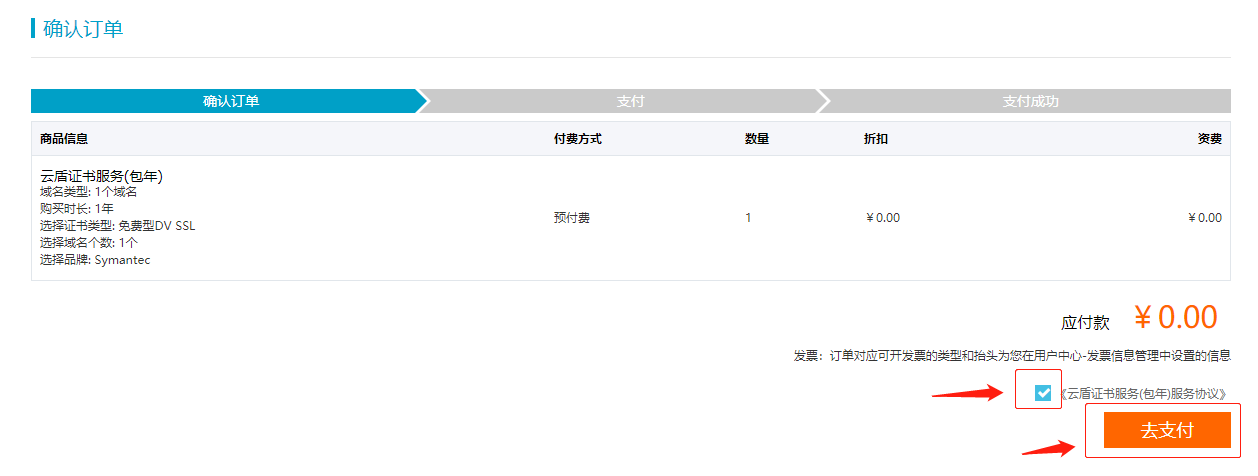
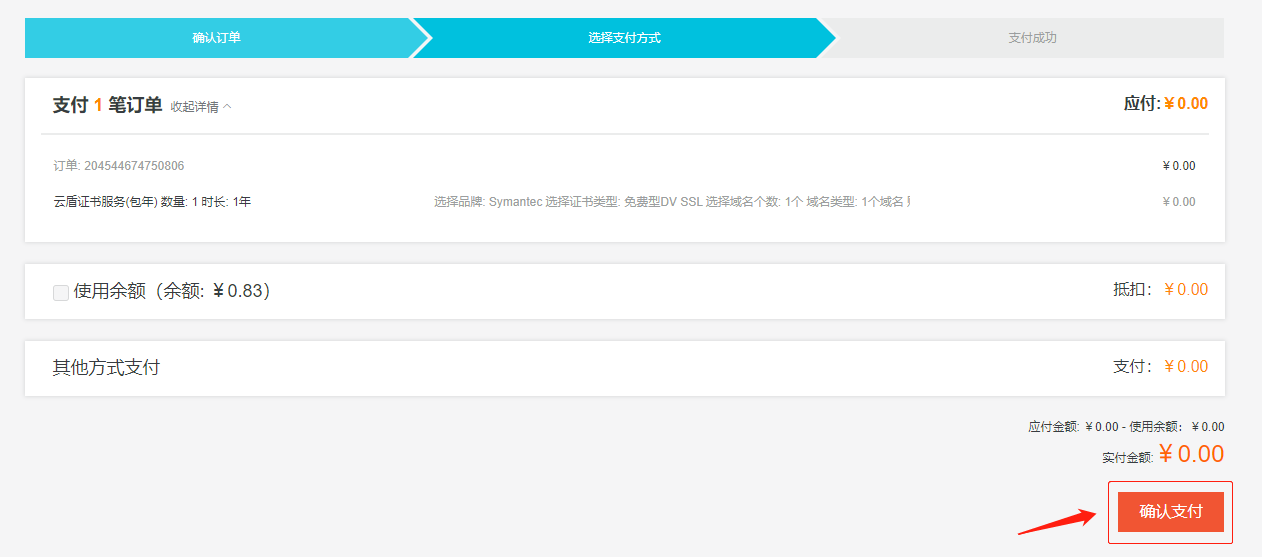
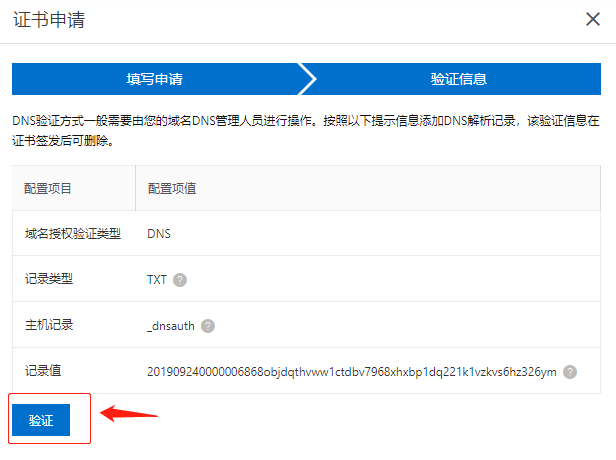
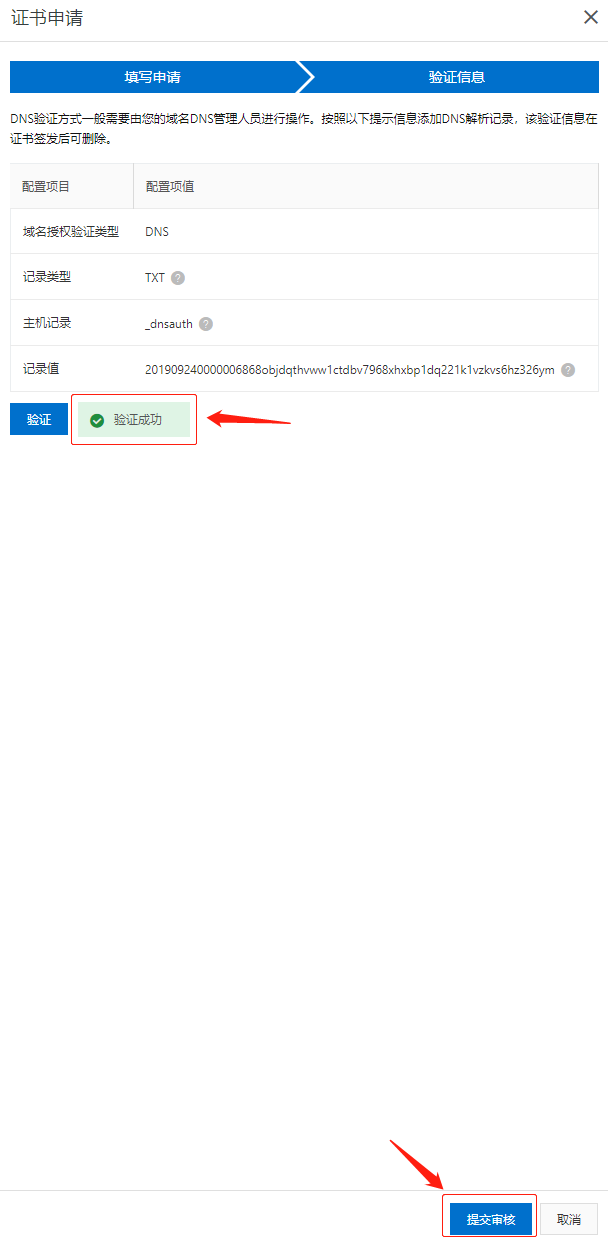
申请免费 HTTPS 证书
注册完域名后,到下面链接申请免费证书
https://yundun.console.aliyun.com/?spm=5176.2020520154.aliyun_sidebar.194.36a91e43FHnFGs&p=cas#/overview/cn-hangzhou
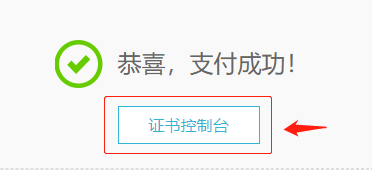


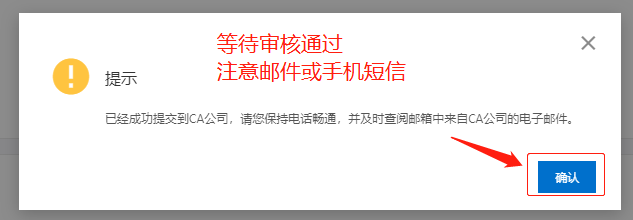
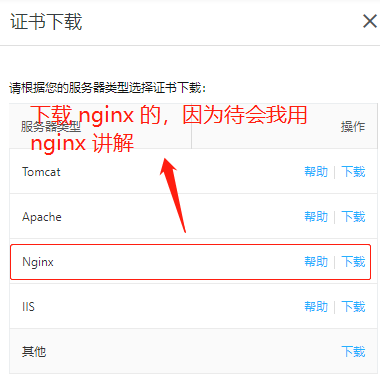
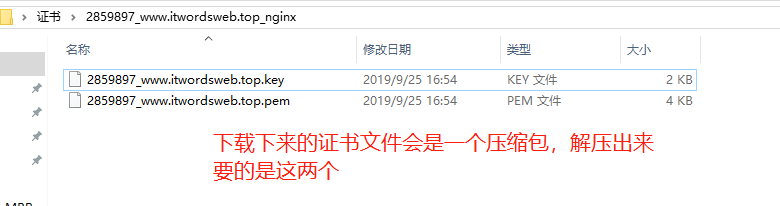
下载证书待用
证书审核通过后,进入证书控制台页面,切记要等证书审核通过并签发下来后再继续下一步,要不然验证可能不通过
https://yundun.console.aliyun.com/?spm=5176.6660585.774526198.1.27046bf8XYq86S&p=cas#/overview/cn-hangzhou

使用 Xshell 连接 VPS 做配置
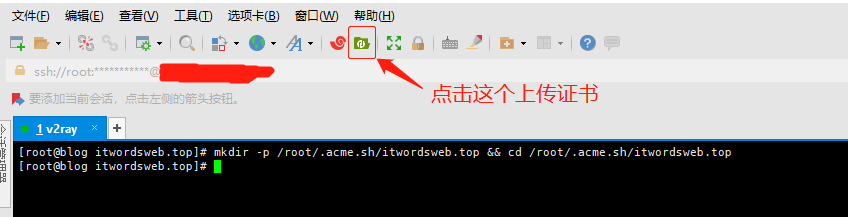
使用 Xshell 把刚下载的证书上传到 VPS 待用
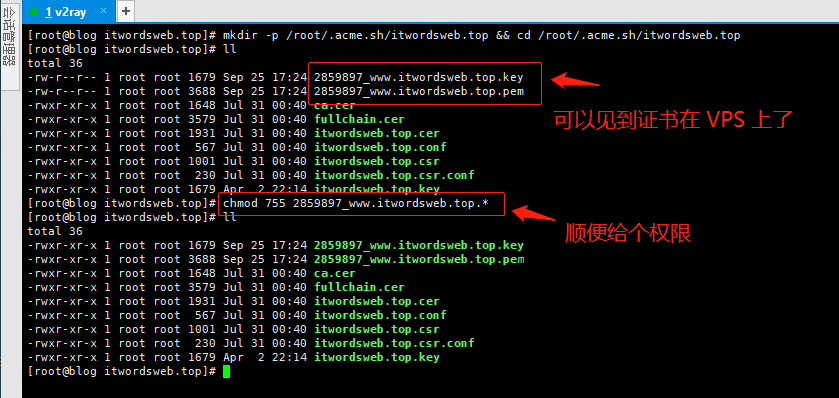
使用以下命令创建对应目录并进入,注意看清楚,我这个目录用我的域名来创建…你的随你喜欢
[root@blog ~]# mkdir -p /root/.acme.sh/itwordsweb.top && cd /root/.acme.sh/itwordsweb.top
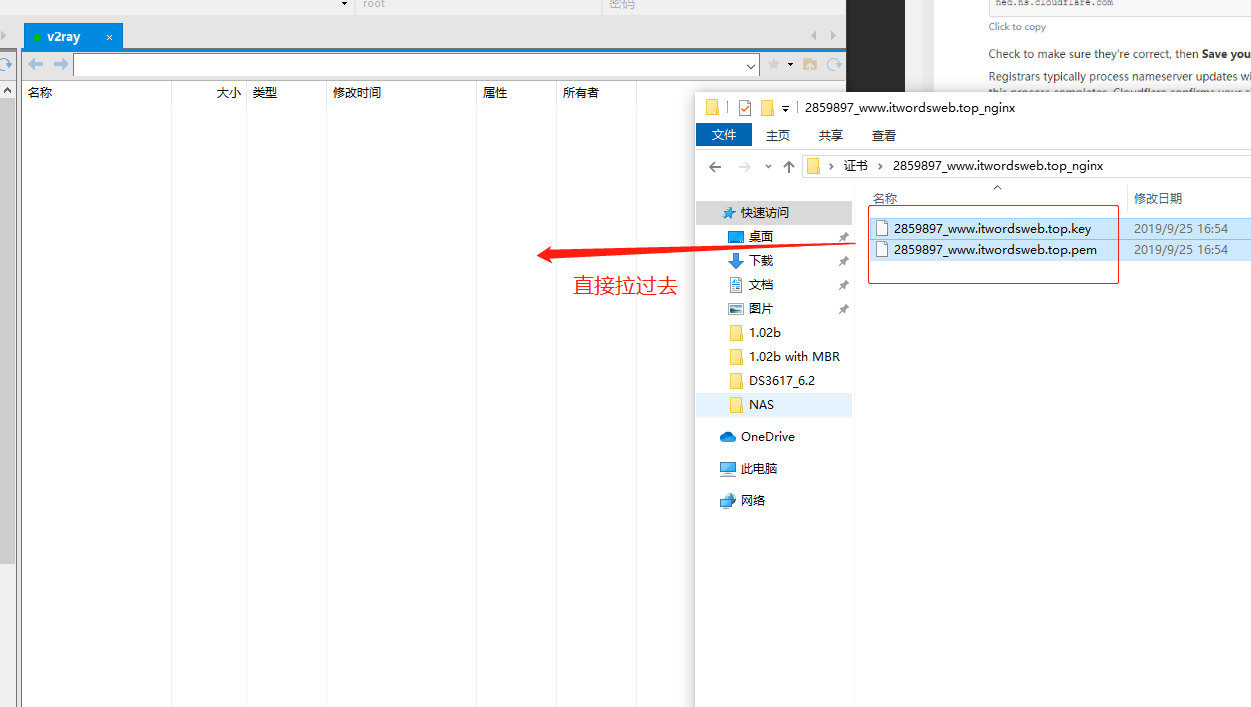
安装 xftp 客户端并上传证书
xftp 客户端下载(怎么安装就不说了吧):
链接:https://pan.baidu.com/s/1HEEvLhODTwL6jcrmbM4wQw
提取码:e5tk
安装 nginx,依次执行下面命令
此处介绍下 vi 用法,vi 打开一个文件,按 a 或 i 来编辑内容,编辑完按 q 退出编辑,再按 :wq 保存内容并退出文件
[root@blog ~]# cd /usr/local/src/
[root@blog src]# yum -y install gcc pcre-devel.x86_64 openssl-devel.x86_64 zlib-devel
[root@blog src]# wget http://nginx.org/download/nginx-1.16.0.tar.gz
[root@blog src]# tar xvf nginx-1.16.0.tar.gz
[root@blog src]# cd nginx-1.16.0/
[root@blog nginx-1.16.0]# ./configure --prefix=/usr/local/nginx --with-http_ssl_module --with-http_v2_module --with-http_dav_module --with-http_stub_status_module --with-threads --with-file-aio
[root@blog nginx-1.16.0]# make && make install
[root@blog nginx-1.16.0]# vi /etc/init.d/nginx
#!/bin/bash
# chkconfig: - 30 21
# description: http service.
# Source Function Library
. /etc/init.d/functions
# Nginx Settings
NGINX_SBIN="/usr/local/nginx/sbin/nginx"
NGINX_CONF="/usr/local/nginx/conf/nginx.conf"
NGINX_PID="/usr/local/nginx/logs/nginx.pid"
RETVAL=0
prog="Nginx"
start()
{
echo -n $"Starting $prog: "
  mkdir -p /dev/shm/nginx_temp
  daemon $NGINX_SBIN -c $NGINX_CONF
  RETVAL=$?
  echo
  return $RETVAL
}
stop()
{
  echo -n $"Stopping $prog: "
  killproc -p $NGINX_PID $NGINX_SBIN -TERM
  rm -rf /dev/shm/nginx_temp
  RETVAL=$?
  echo
  return $RETVAL
}
reload()
{
  echo -n $"Reloading $prog: "
  killproc -p $NGINX_PID $NGINX_SBIN -HUP
  RETVAL=$?
  echo
  return $RETVAL
}
restart()
{
  stop
  start
}
configtest()
{
  $NGINX_SBIN -c $NGINX_CONF -t
  return 0
}
case "$1" in
  start)
      start
      ;;
  stop)
      stop
      ;;
  reload)
      reload
      ;;
  restart)
      restart
      ;;
  configtest)
      configtest
      ;;
  *)
echo $"Usage: $0 {start|stop|reload|restart|configtest}"
RETVAL=1
esac
exit $RETVAL
[root@blog nginx-1.16.0]# chmod 755 /etc/init.d/nginx
[root@blog nginx-1.16.0]# chkconfig --add nginx
[root@blog nginx-1.16.0]# chkconfig nginx on
[root@blog nginx-1.16.0]# mkdir -p /data/nginx/v2ray
[root@blog nginx-1.16.0]# mv /usr/local/nginx/conf/nginx.conf /usr/local/nginx/conf/nginx.conf.bak
[root@blog nginx-1.16.0]# vi /usr/local/nginx/conf/nginx.conf
user nobody;
worker_processes 1;
events {
    worker_connections 1024;
}
http {
    include mime.types;
    default_type  application/octet-stream;
    sendfile on;
    keepalive_timeout  65;
    log_format main '$remote_addr - $remote_user [$time_local] "$request" '
                    '$status $body_bytes_sent "$http_referer" '
                    '"$http_user_agent" "$http_x_forwarded_for"';
    include /usr/local/nginx/conf/conf.d/*.conf;
}
[root@blog src]# mkdir /usr/local/nginx/conf/conf.d
[root@blog src]# vi /usr/local/nginx/conf/conf.d/v2ray.conf
upstream v2ray {
    server 127.0.0.1:12345 weight=1;
}
server {
    listen 443 ssl;
    ssl on;
    ssl_certificate /root/.acme.sh/itwordsweb.top/2859897_www.itwordsweb.top.pem;
    ssl_certificate_key /root/.acme.sh/itwordsweb.top/2859897_www.itwordsweb.top.key;
    # 以上两句中的域名要改为你的域名,或者说你的证书文件
    ssl_protocols TLSv1 TLSv1.1 TLSv1.2;
    ssl_ciphers HIGH:!aNULL:!MD5;
    server_name itwordsweb.top www.itwordsweb.top;
    # 以上改为你的域名
    access_log /data/nginx/v2ray/access.log main;
    error_log /data/nginx/v2ray/error.log error;
    location /top {
        proxy_redirect off;
        proxy_pass http://v2ray;
        proxy_http_version 1.1;
        proxy_set_header Upgrade $http_upgrade;
        proxy_set_header Connection "upgrade";
        proxy_set_header Host $http_host;
    }
}
[root@blog nginx-1.16.0]# /usr/local/nginx/sbin/nginx -t
[root@blog nginx-1.16.0]# systemctl start nginx
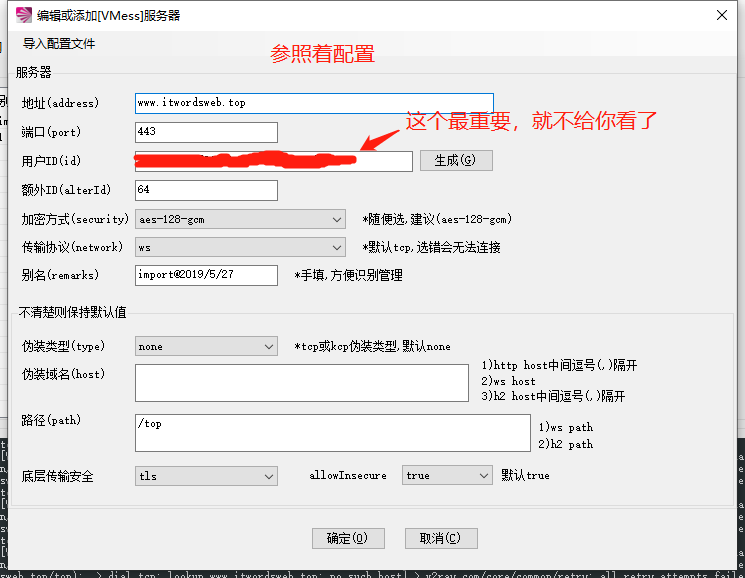
编辑 v2ray 的配置文件并重启 v2ray
具体改了哪里,参考着你原来的来比较咯
[root@blog itwordsweb.top]# mkdir -p /data/v2ray/log/
[root@blog itwordsweb.top]# vi /usr/local/etc/v2ray/config.json
{
  "log": {
    "access": "/var/log/v2ray/access.log",
    "error": "/var/log/v2ray/error.log",
    "loglevel": "warning"
  },
  "dns": {},
  "stats": {},
  "inbounds": [
    {
      "port": 12345,
      "protocol": "vmess",
      "settings": {
        "clients": [
          {
            "id": "bc1fedff-67b7-186e-0487-e3f510859ce4",
            "level": 1,
            "alterId": 100
          }
        ]
      },
      "tag": "in-0",
      "streamSettings": {
        "network": "ws",
        "security": "auto",
        "wsSettings": {
          "path": "/top"
        }
      },
      "listen": "127.0.0.1"
    }
  ],
  "outbounds": [
    {
      "tag": "direct",
      "protocol": "freedom",
      "settings": {}
    },
    {
      "tag": "blocked",
      "protocol": "blackhole",
      "settings": {}
    }
  ],
  "routing": {
    "domainStrategy": "AsIs",
    "rules": [
      {
        "type": "field",
        "ip": [
          "geoip:private"
        ],
        "outboundTag": "blocked"
      }
    ]
  },
  "policy": {},
  "reverse": {},
  "transport": {}
}
[root@blog itwordsweb.top]# systemctl restart v2ray
配置防火墙规则(假如你在上一篇中配置了防火墙的话,这步需要操作一下)
[root@blog itwordsweb.top]# iptables -I INPUT -p tcp -m state --state NEW -m tcp --dport 443 -j ACCEPT
[root@blog itwordsweb.top]# iptables -I INPUT -p tcp -m state --state NEW -m tcp --dport 80 -j ACCEPT
[root@blog itwordsweb.top]# service iptables save
[root@blog itwordsweb.top]# systemctl restart iptables
[root@blog itwordsweb.top]# systemctl enable iptables
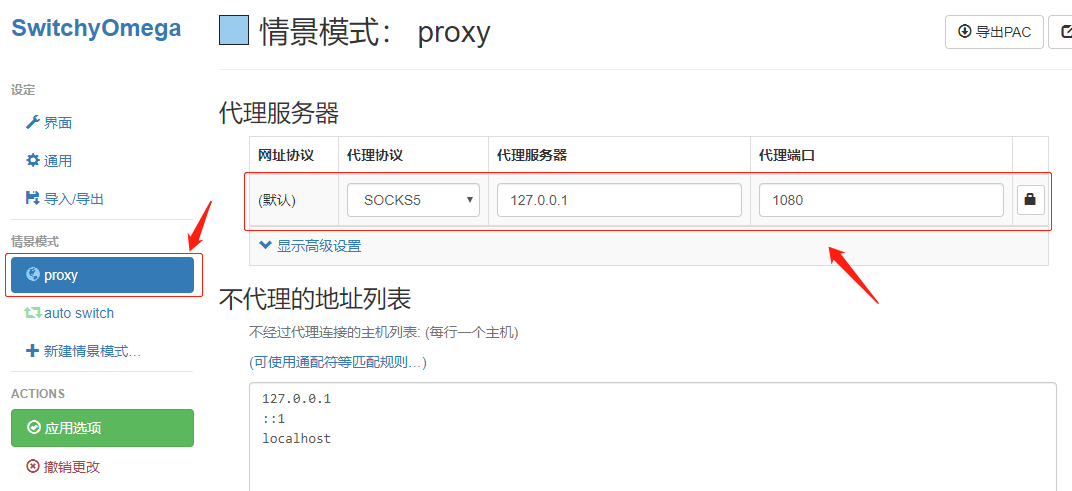
配置 v2ray 客户端
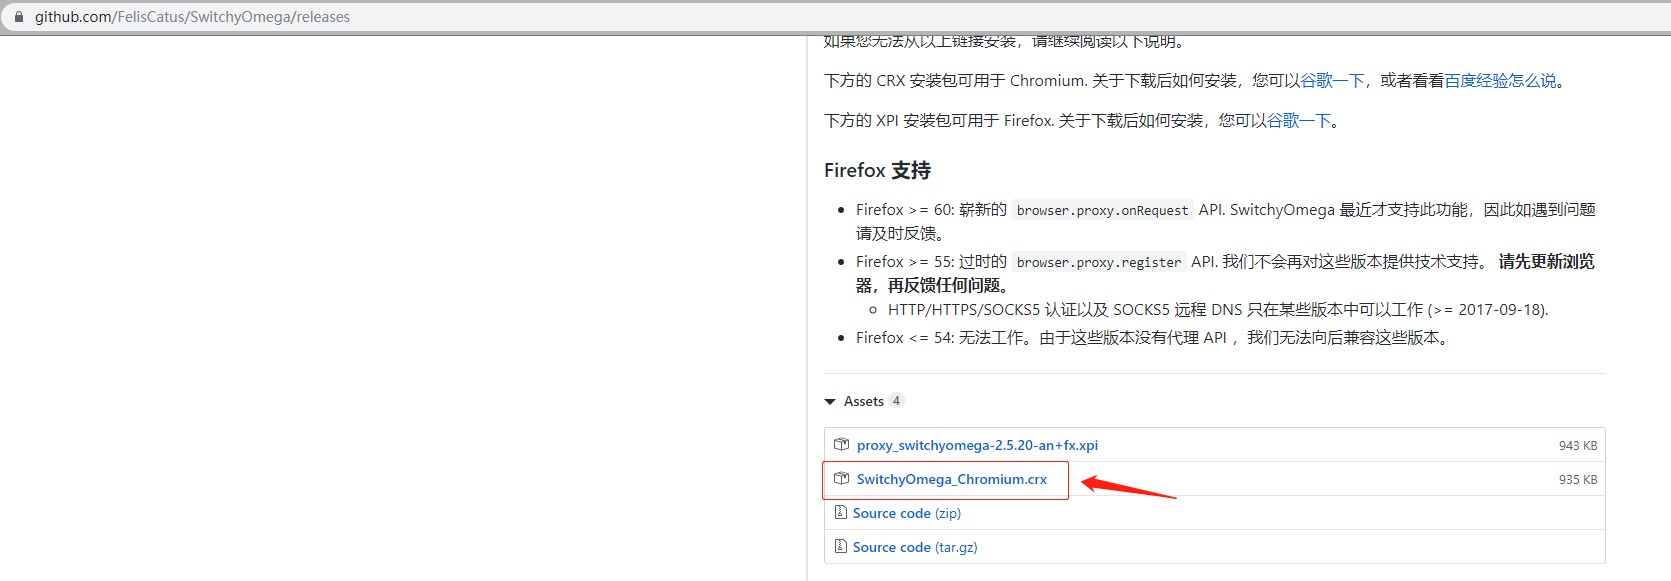
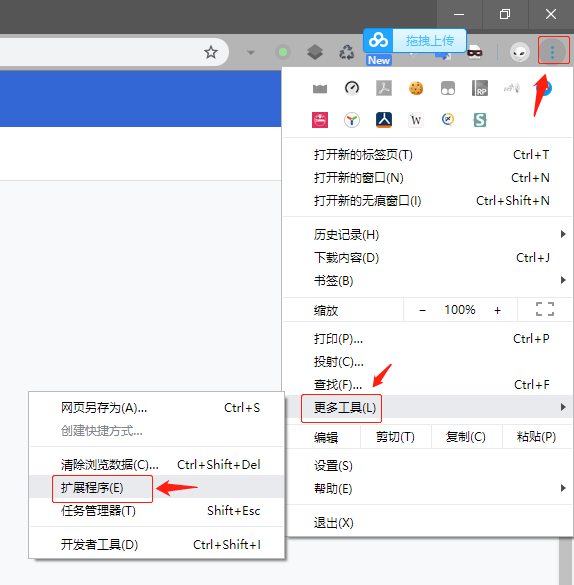
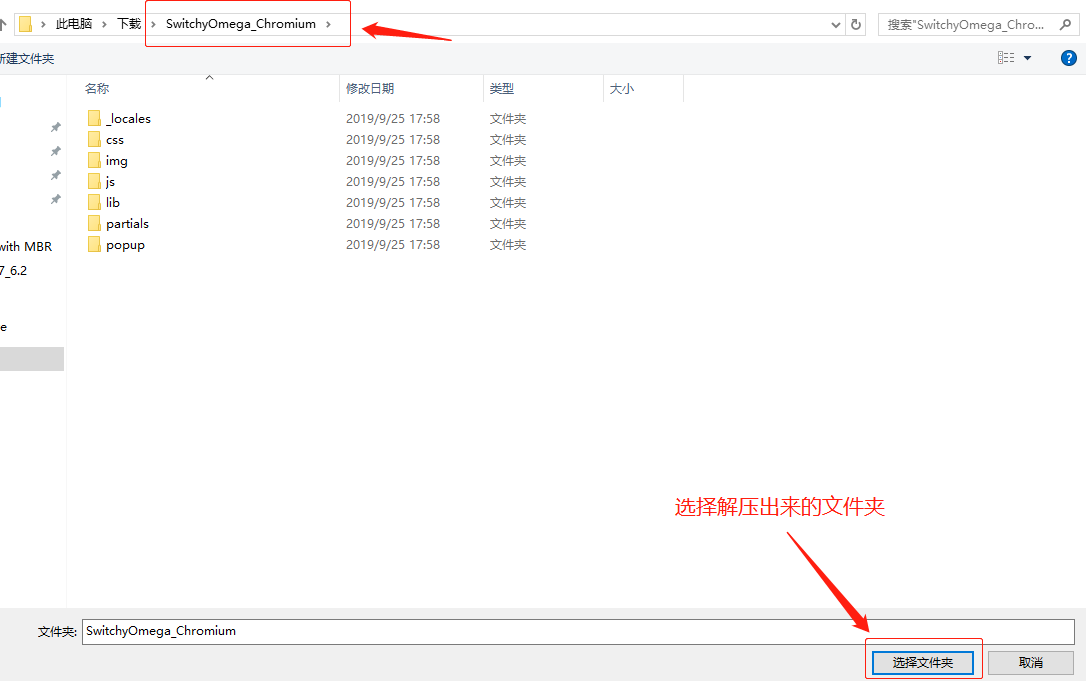
配置谷歌浏览器
插件下载地址
https://github.com/FelisCatus/SwitchyOmega/releases
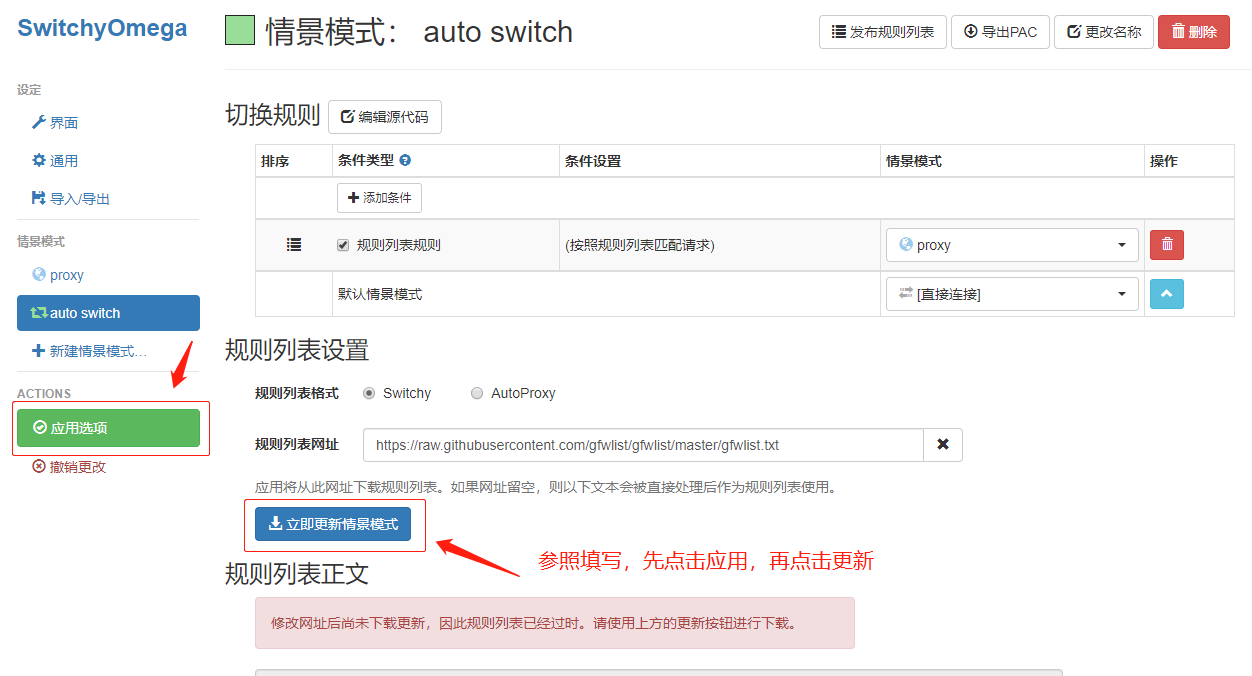
规则地址
https://raw.githubusercontent.com/gfwlist/gfwlist/master/gfwlist.txt


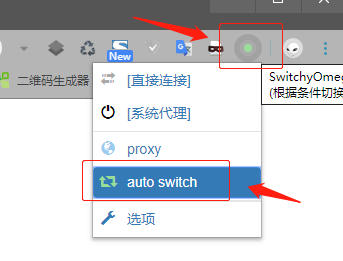
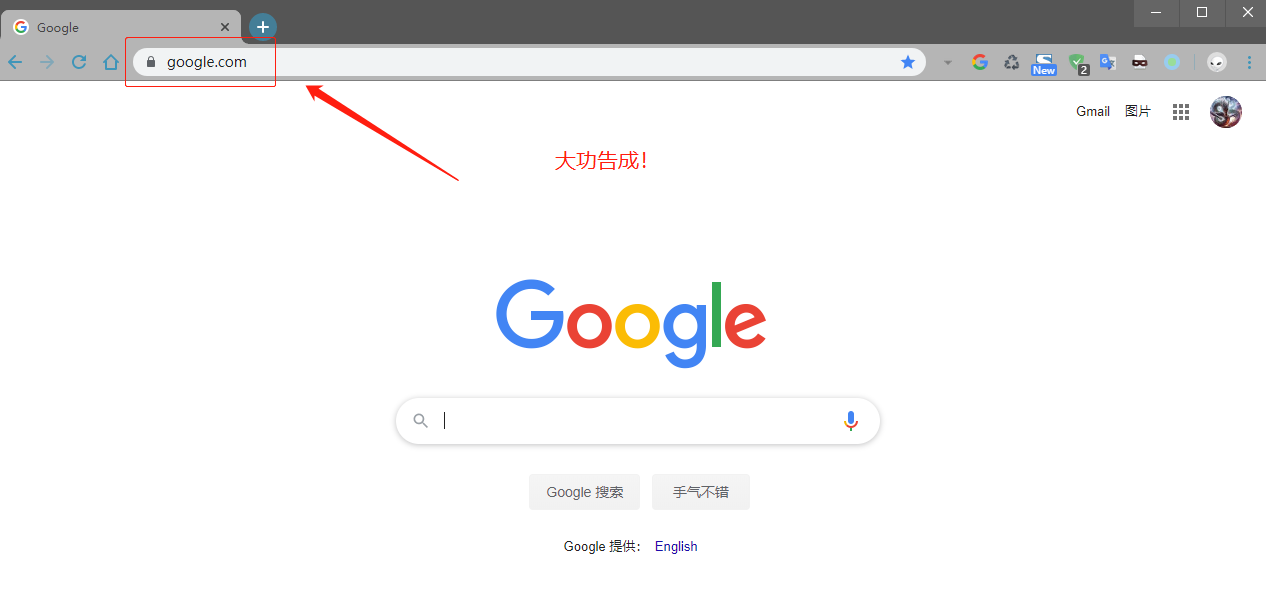
测试
最后再注册海外 CDN 服务商 cloudflare 账号并配置
注册
如何注册?此处还是不讲,参考下面地址
https://dash.cloudflare.com
https://support.cloudflare.com/hc/zh-cn/categories/200275218-入门
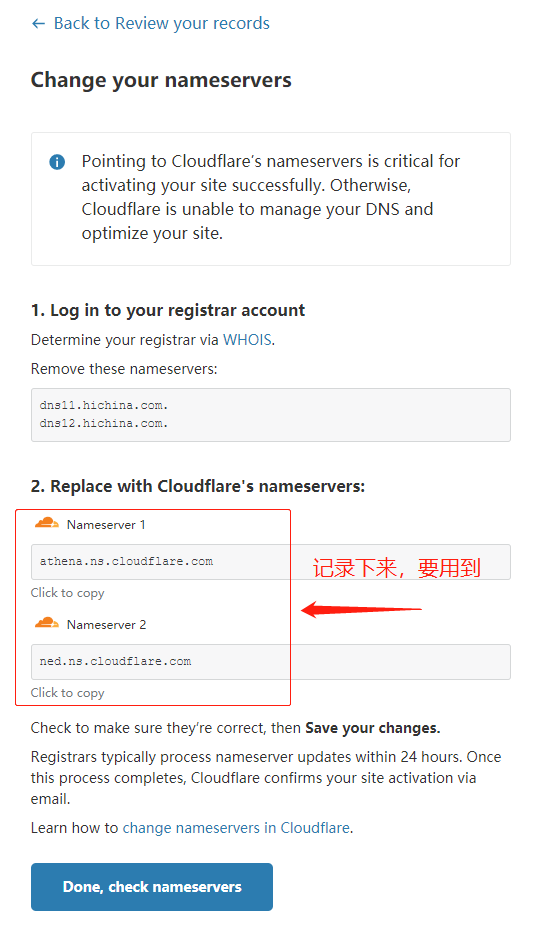
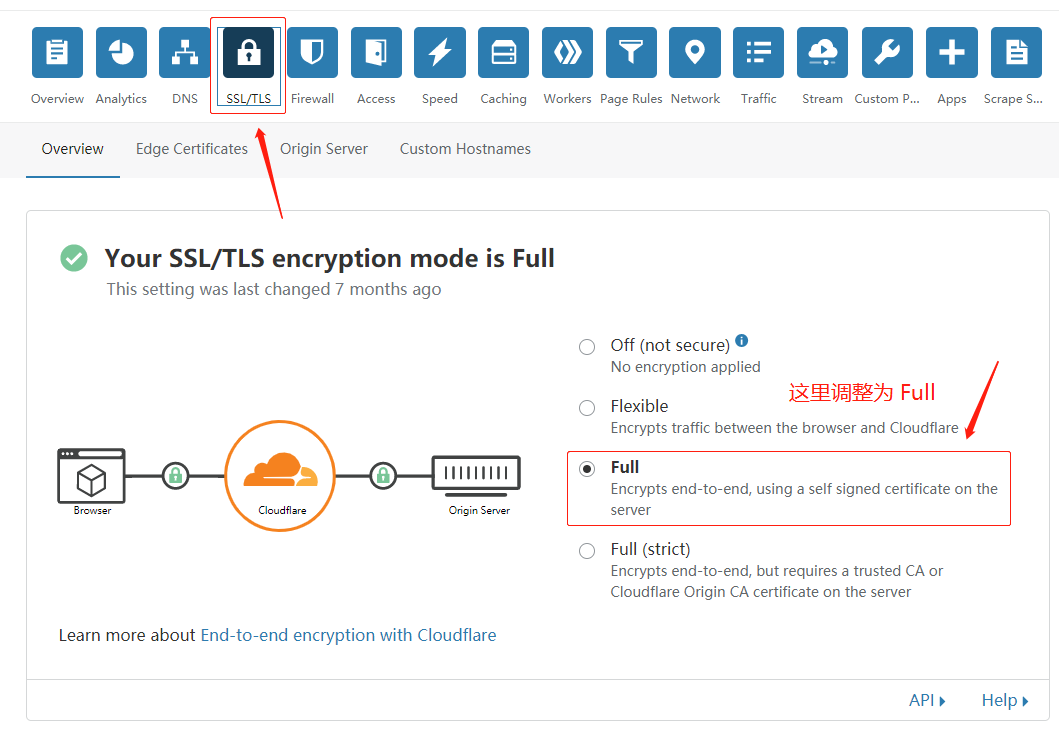
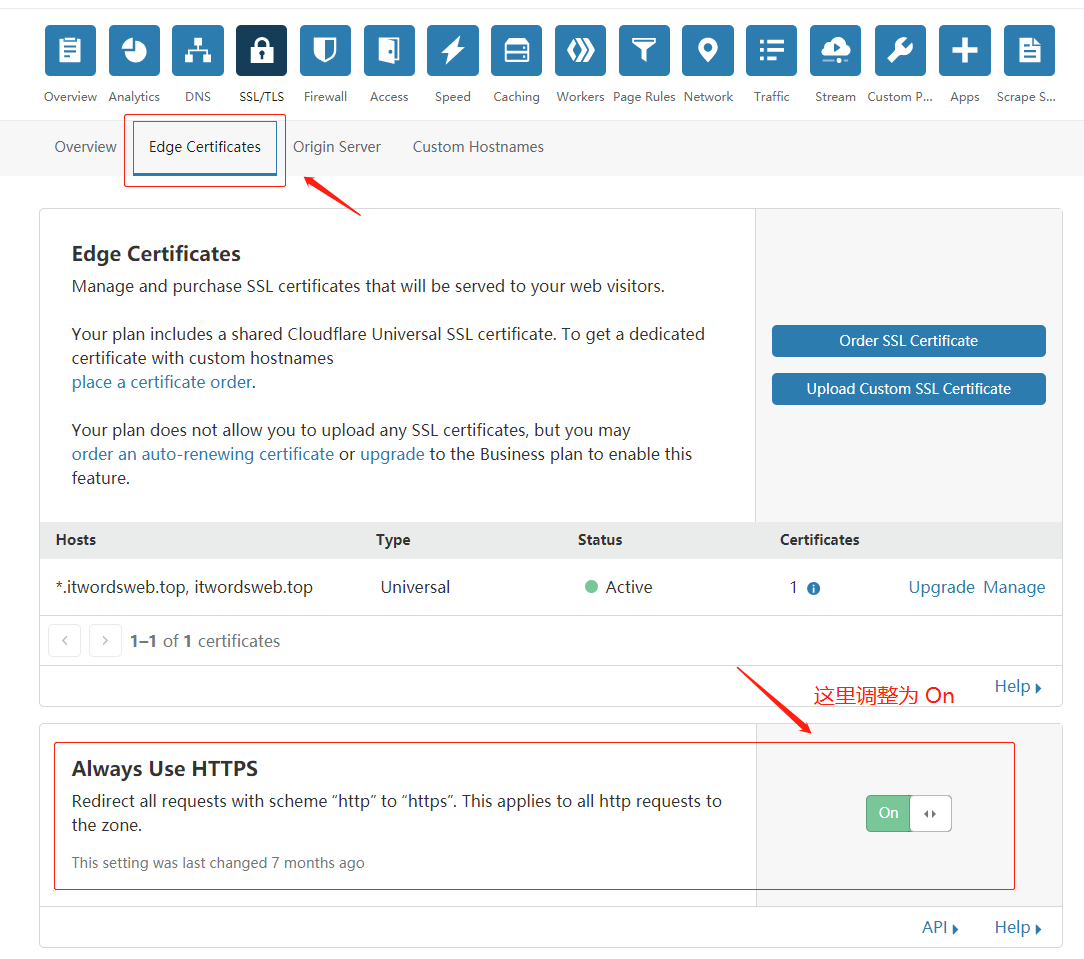
cloudflare 管理平台配置 CDN
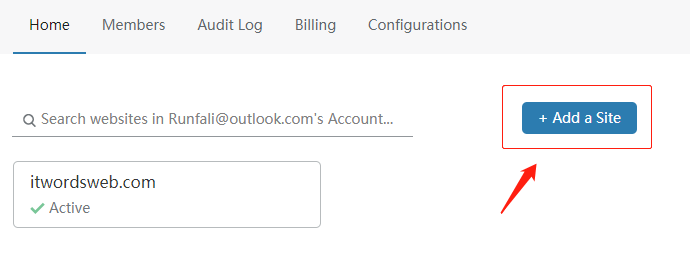
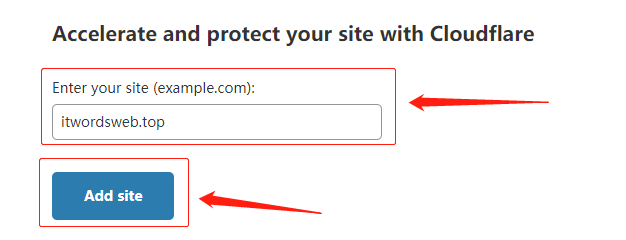
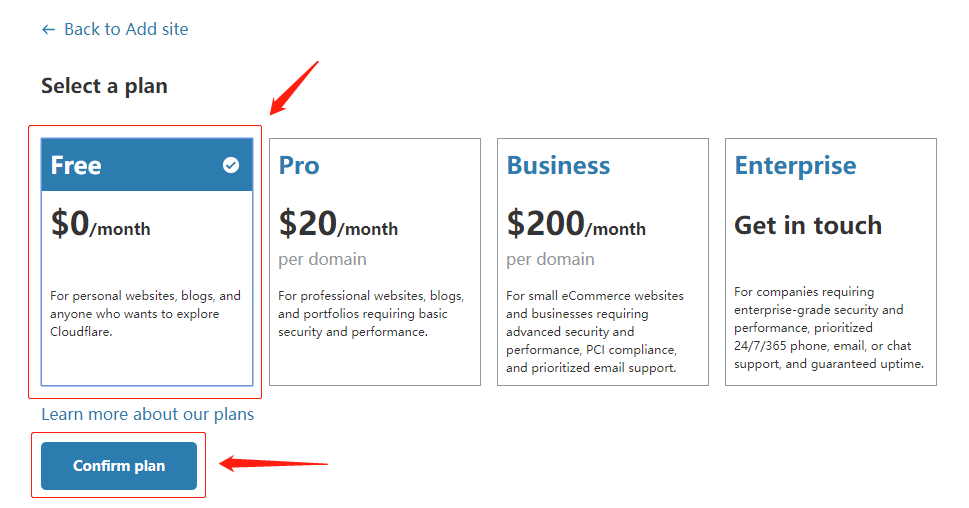
先到 cloudflare 加入域名
https://dash.cloudflare.com
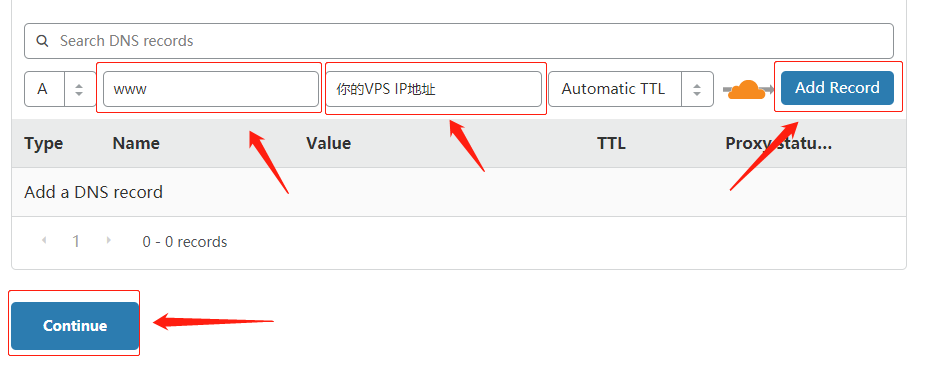
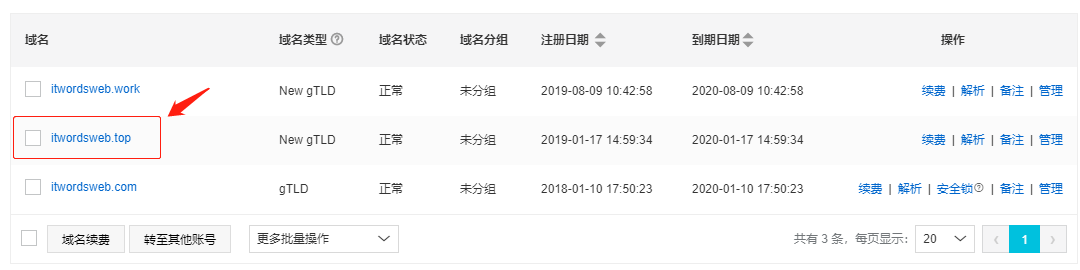
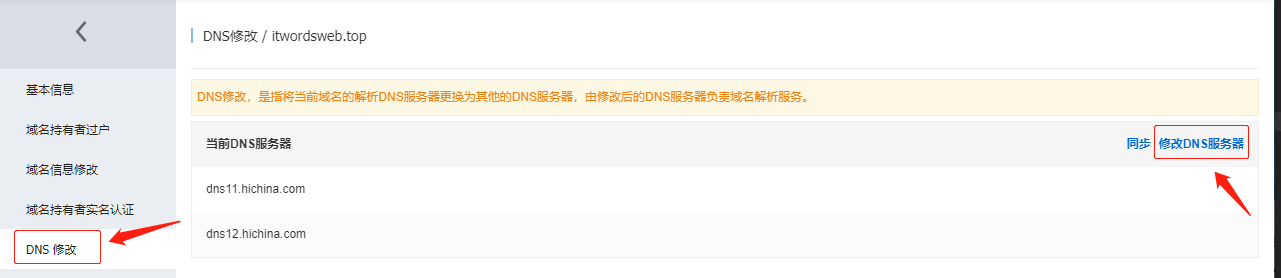
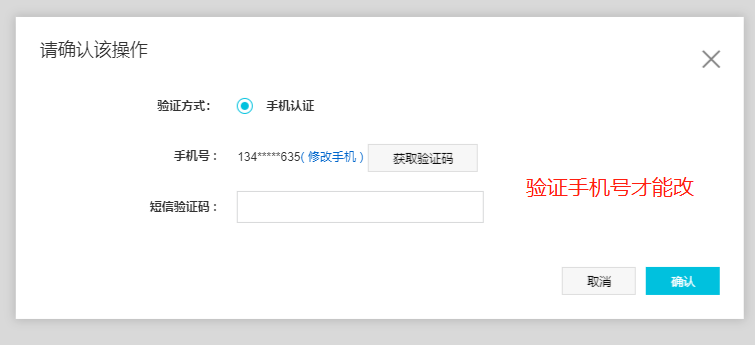
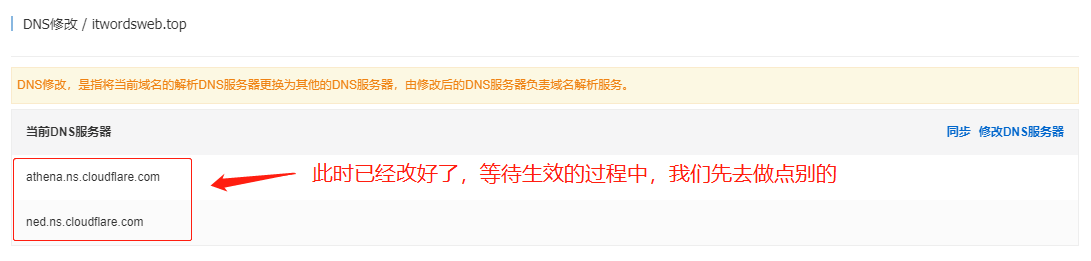
现在到阿里云域名解析平台修改 DNS 服务器配置
https://dc.console.aliyun.com/next/index#/domain/list/all-domain


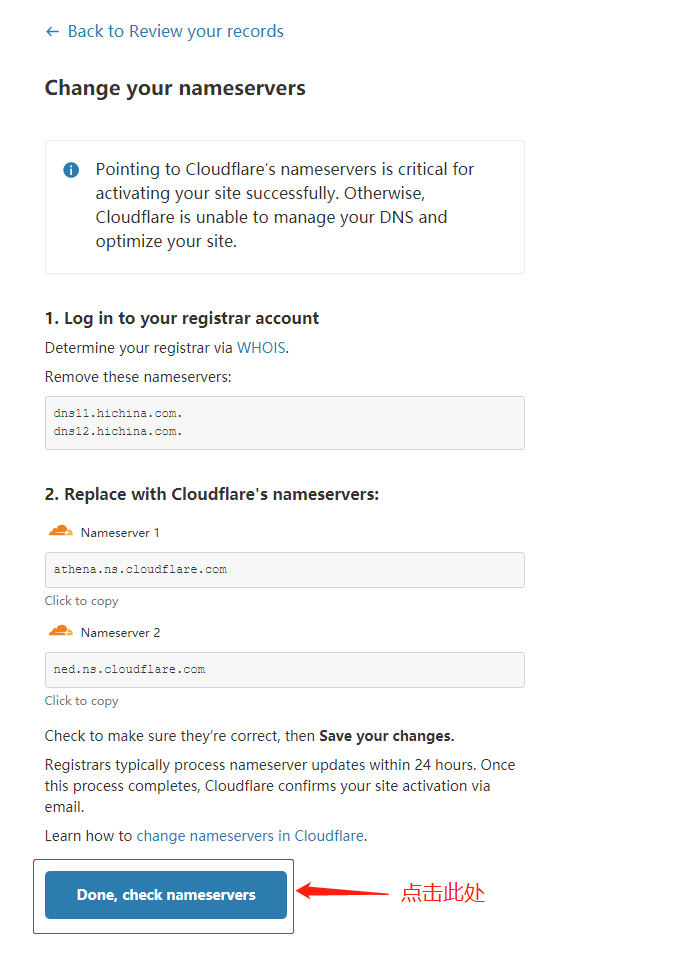
返回 cloudflare 页面
最后
等待一段时间,让 CDN 生效
再次测试能不能正常使用